Stripping can be a great way to save money for other things. That’s right, I’m talking about removing paint from pre-owned models. No, not that kind of stripping or those kind of models! As I highlighted in point number 3 in my previous article, purchasing used models can save anywhere from 30% to 75% off of full priced retail. The only downside to buying used models is sometimes dealing with the awful paint jobs of the previous owners. If you are like me, having an army that has some sort of order to its color scheme is important. Although it may seem daunting, the process is actually very easy. A little planning and you will have a blank canvas for you artistic talents to flow forth!
To start, you need a few things. Your models, obviously, as well as:
- A Stripping Solution (see below)
- A container for the solution
- A brush(toothbrush, scrubbing brush, etc)
- Gloves
- Safety glasses
- A container of water
- A towel
Give yourself at least 12 hours beforehand to let the minis soak.
For this tutorial I have two space marines and two ork boyz. I purchased a large mixed lot of these from someone getting out of the game and although the painting isn’t terrible, it doesn’t mesh with my color scheme.


The first step is to purchase what you are going to soak the minis in. The two most popular options are Simple Green and Purple Power. Purple Power is carried under several different names, but the thing to look for if you choose this option the term “cleaner and degreaser”. They both cost about the same at a hardware store and everyone has their own opinions about the pros and cons. To make it easier on you, I decided to run a little test to see which performs better. Having used both many times, I also know the advantages and disadvantages of both.

Simple Green is an environmentally friendly alternative to traditional hard chemical cleaners. A gallon of concentrate runs for around $10 where I live. For the purposes of paint stripping, you don’t need to dilute the solution unless you are trying to make the gallon last longer. Keep in mind though, if you dilute you will lose effectiveness! The advantage of Simple Green is that it is safe to handle with your bare hands. While you should still wear protection, Simple Green won’t burn your skin with prolonged contact. I have stripped several batches of minis without gloves and never had any issues. Comparing effectiveness, Simple Green breaks even with Purple Power for stripping light paint jobs. The advantage of not needing protective garb makes Simple Green a better solution for beginners.
Purple Power is a more potent and powerful cleaner. Running for around $5 a gallon, this is certainly cheaper than Simple Green. However, unlike its green competitor, you will need to wear gloves and work in a well ventilated area when working with this cleaner. The chemicals will burn your skin if left in contact for long enough, and the fumes are toxic. Though cheaper, the combined added cost of gloves and the restrictions on where you can work makes this more difficult to accommodate. Performance wise, Purple Power works much better than Simple Green for thick or sealed paint jobs. The first time I used the Purple Power, the paint literally melted off the model. I only had to scrub a few of the hard to reach areas before I had a perfectly clean model. The purple also will, if left for long enough, remove the priming layer of paint. It won’t get all of the prime coat off, it will remove large portions of whatever paint was used to prime the plastic. Overall, I would rank this as better for thick paint or if you REALLY want to get all the paint off. Just remember to wear your gloves/eyewear and work in a ventilated area!
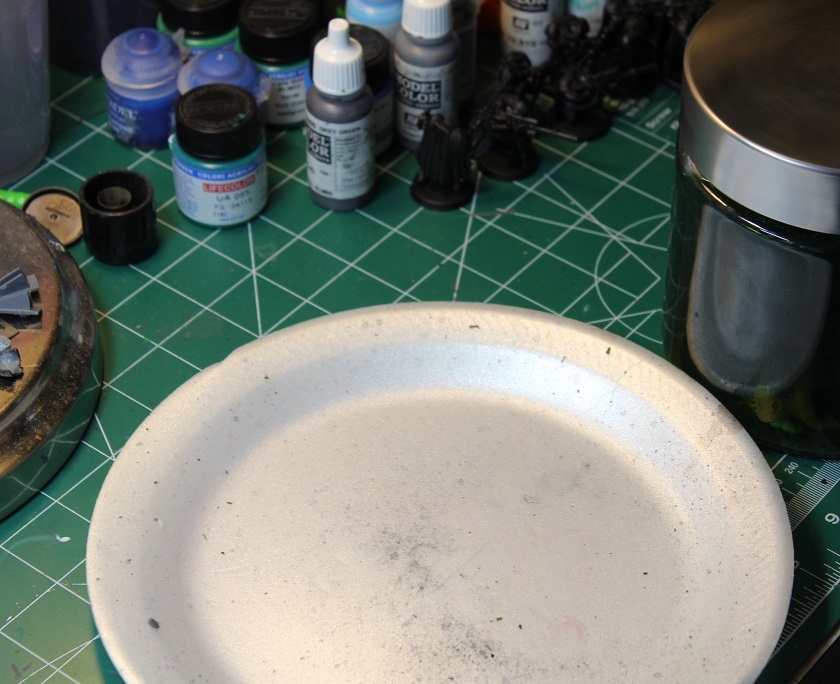
Once you have your solution solution, you need to find a container with a lid. Any plastic or glass container will do, as neither will be damaged by the chemicals. Fill your selected vessel to around 3/4 full, making sure to leave room for the minis. Now take your minis and place them in the container.


If you have ever assembled any plastic models you know that they have air pockets. This will prevent the mini from sinking into the stripping solution. While it isn’t a big deal if they don’t sink, I like to think that the most concentrated chemicals are on the bottom and would rather my models to be on the bottom. I picked up these little alligator clips from a hobby store. Clipping these on the base of the mini will make them sink right to the bottom.


Now the fun part…waiting! I have let minis set for 12 hours before and haven’t had issues. For this tutorial though, I let everything soak for a solid 24. Once they have had their nice bath, its time to strip!
Find a space that you can work in. Preferably outside, weather permitting. If you are forced to the great indoors, find a utility area and have a fan running close by to diffuse any fumes. You will need a pair of gloves and something to protect your eyes. As you strip, little drops of chemicals will fly around and can hit your eyes. Stripping eyes is not covered nor endorsed by this tutorial, so please don’t be stupid! Depending on the size of the mini, a bigger or more coarse brush might be needed. I use a cheap, hard bristle toothbrush and never had any issues.

Reach in and grab your mini from the stripping solution. Notice if the paint is bubbling at all. This is a good sign, as the paint has begun to pull away from its bond from the plastic/basecoat. If there isn’t any bubbling don’t worry. Some paints won’t bubble. Gripping the model by the base (or anywhere if there isn’t a base), begin to scrub the model with the brush. There will be suds of solution that form around the model and your fingers. They will take on the color of the paint you are removing. This means that the paint is coming off. Scrub all over the model, making sure to hit any recessed areas. Once you have gone over the model a few times, dip it back in the stripping solution. The bubbles will come off, revealing any additional areas you need to scrub.


Continue to scrub until either the paint is completely off or no more paint will come off. If there is more paint, simply put the model back in the solution. Another few hours of soaking should loosen up whatever paint is too stubborn to leave.
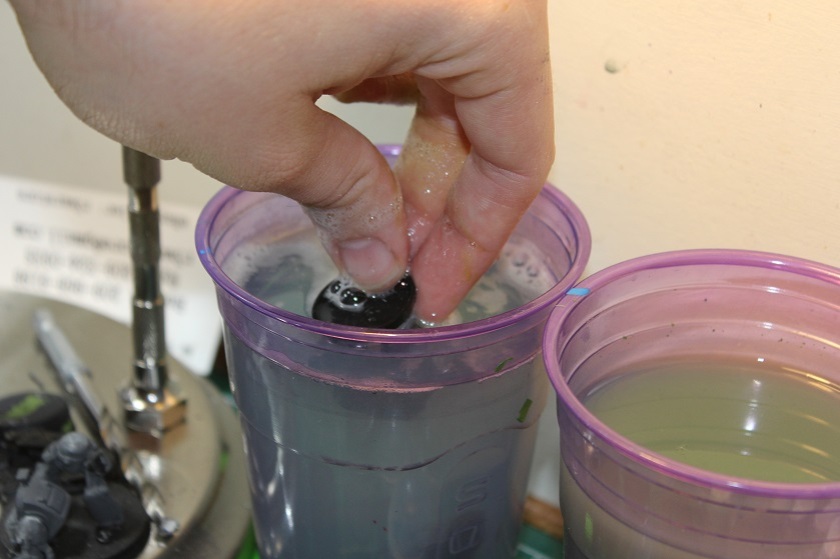
Once you are satisfied with the lack of paint, put the newly cleaned model in a container of water. This gets the rest of the stripping solution off. Repeat the process until all of your models are devoid of paint.
Once you are done stripping, clean up your work area. Make sure to clean up any stripping solution bubbles or splashes, as these will stain whatever they are left on. Take your container of minis and drain the water. Run them under water and place them on a towel to dry. Once the water has evaporated, you can prime them and paint them as you please! As long as the paint is off of the miniature, there really isn’t a wrong way to do this. Now with your recently exposed minis, paint them however you want!
The pictures below show the minis post-strip. The first set was in Simple Green and the second was in Purple Power. You be the judge on which works best.


If you found this tutorial helpful, let me know! It’s always good to hear from readers. Even better, if you used this tutorial to strip minis, send me a picture of the results/your paint job! I’m interested to see your work!
